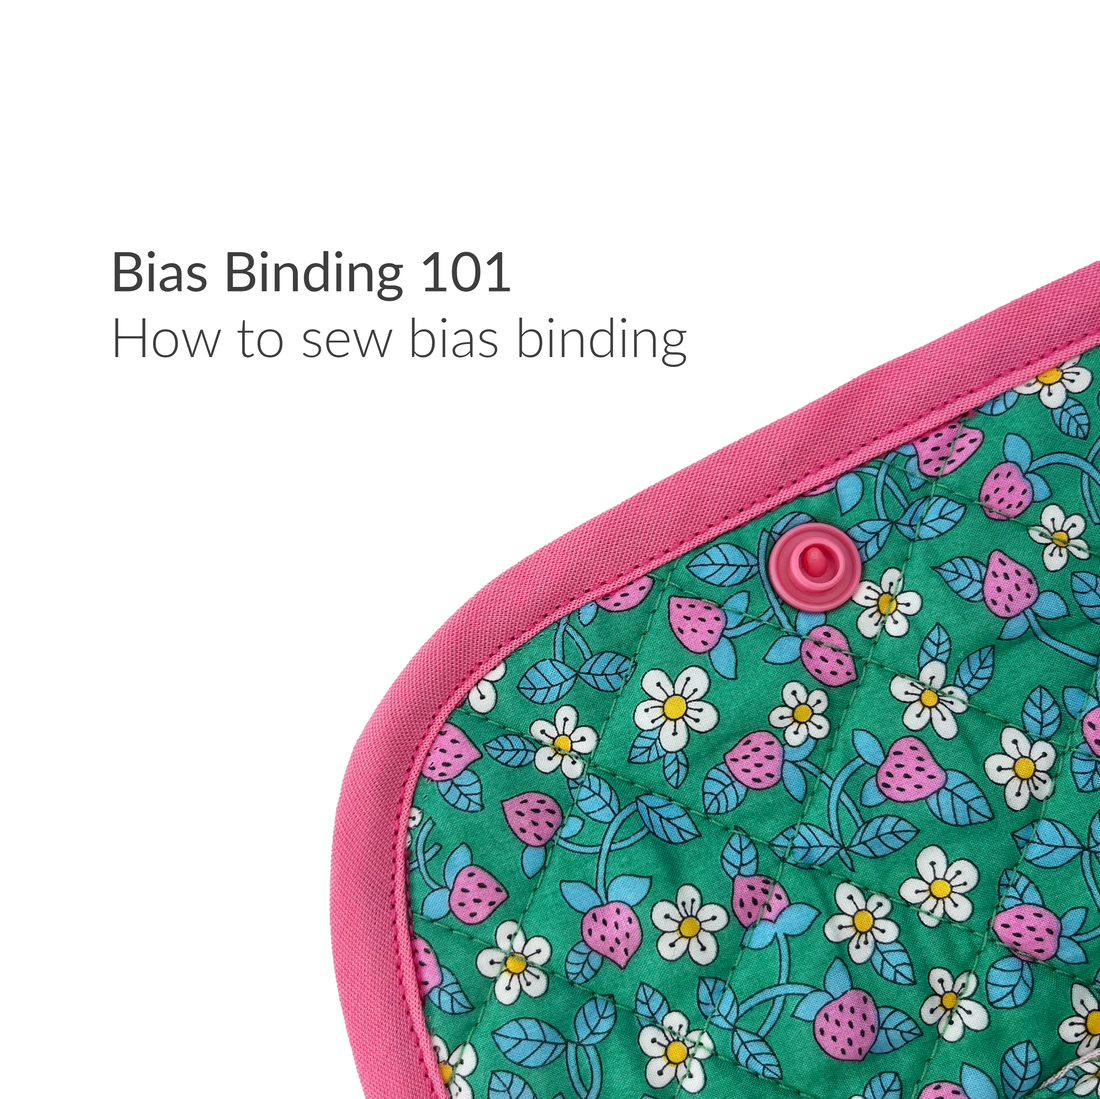
My previous blog post was all about how to create bias binding. Now I'm going to demonstrate how to attach it, showing both how to bind raw edges so your binding is visible, and how to use bias binding to finish a hem invisibly, as well as how to finish the ends of your binding.
How to attach bias binding: binding raw edges
Start on the wrong side of the fabric. Unfold your bias binding and match one raw edge to the raw edge of the fabric, ensuring that your binding’s right side is against the wrong side of the fabric. The binding should have enough give in it to go smoothly around any curves.


Wrap your binding around the raw edges so it is now on the right side of the fabric. Press it, ensuring that the amount of binding visible is even all along the edge. It should just cover the previous line of stitching.


How to attach bias binding: using it as facing on a hem
With this approach you start on the right side of the garment. Unfold one side of your binding and lay it, right sides together, against the garment edge, matching the raw edge of the binding with the raw edge of the garment. The binding should have enough give to go around any curves.

Stitch along the fold line closest to the edge.

 Turn the binding to the inside, creating a narrow hem.
Stitch the binding in place along the top edge – you can either use an invisible hand-stitch or top-stitch it from the right side (as shown in the images below).


How to finish the ends of bias binding – two approaches
If you are sewing around a skirt hem, or a waistline or a sleeve armscye, you will inevitably have two ends of bias binding that need finishing. Bias binding ends don’t fray, so you don’t need to worry about that. If the binding is going to be on the inside of a garment, and won’t be seen, then I would usually opt to simply overlap one end of the binding over the other.


When you get to the end of the line of stitching, close to where you started, you should find you now have two tails hanging free.


Stitch the two tails together, right sides together, in a straight line at a right angle to the earlier stitching. You should be as close to the garment as possible without actually catching it in your stitching.


Trim the excess seam allowance and press your little seam open. Now you can resume the application of your binding.


Eh, voila! You're now well equipped to tackle any bias binding instructions in my, or others', patterns. Get the new Mariposa Bow-Back Dress or the popular Piccadilly Pyjamas to give it a go!

