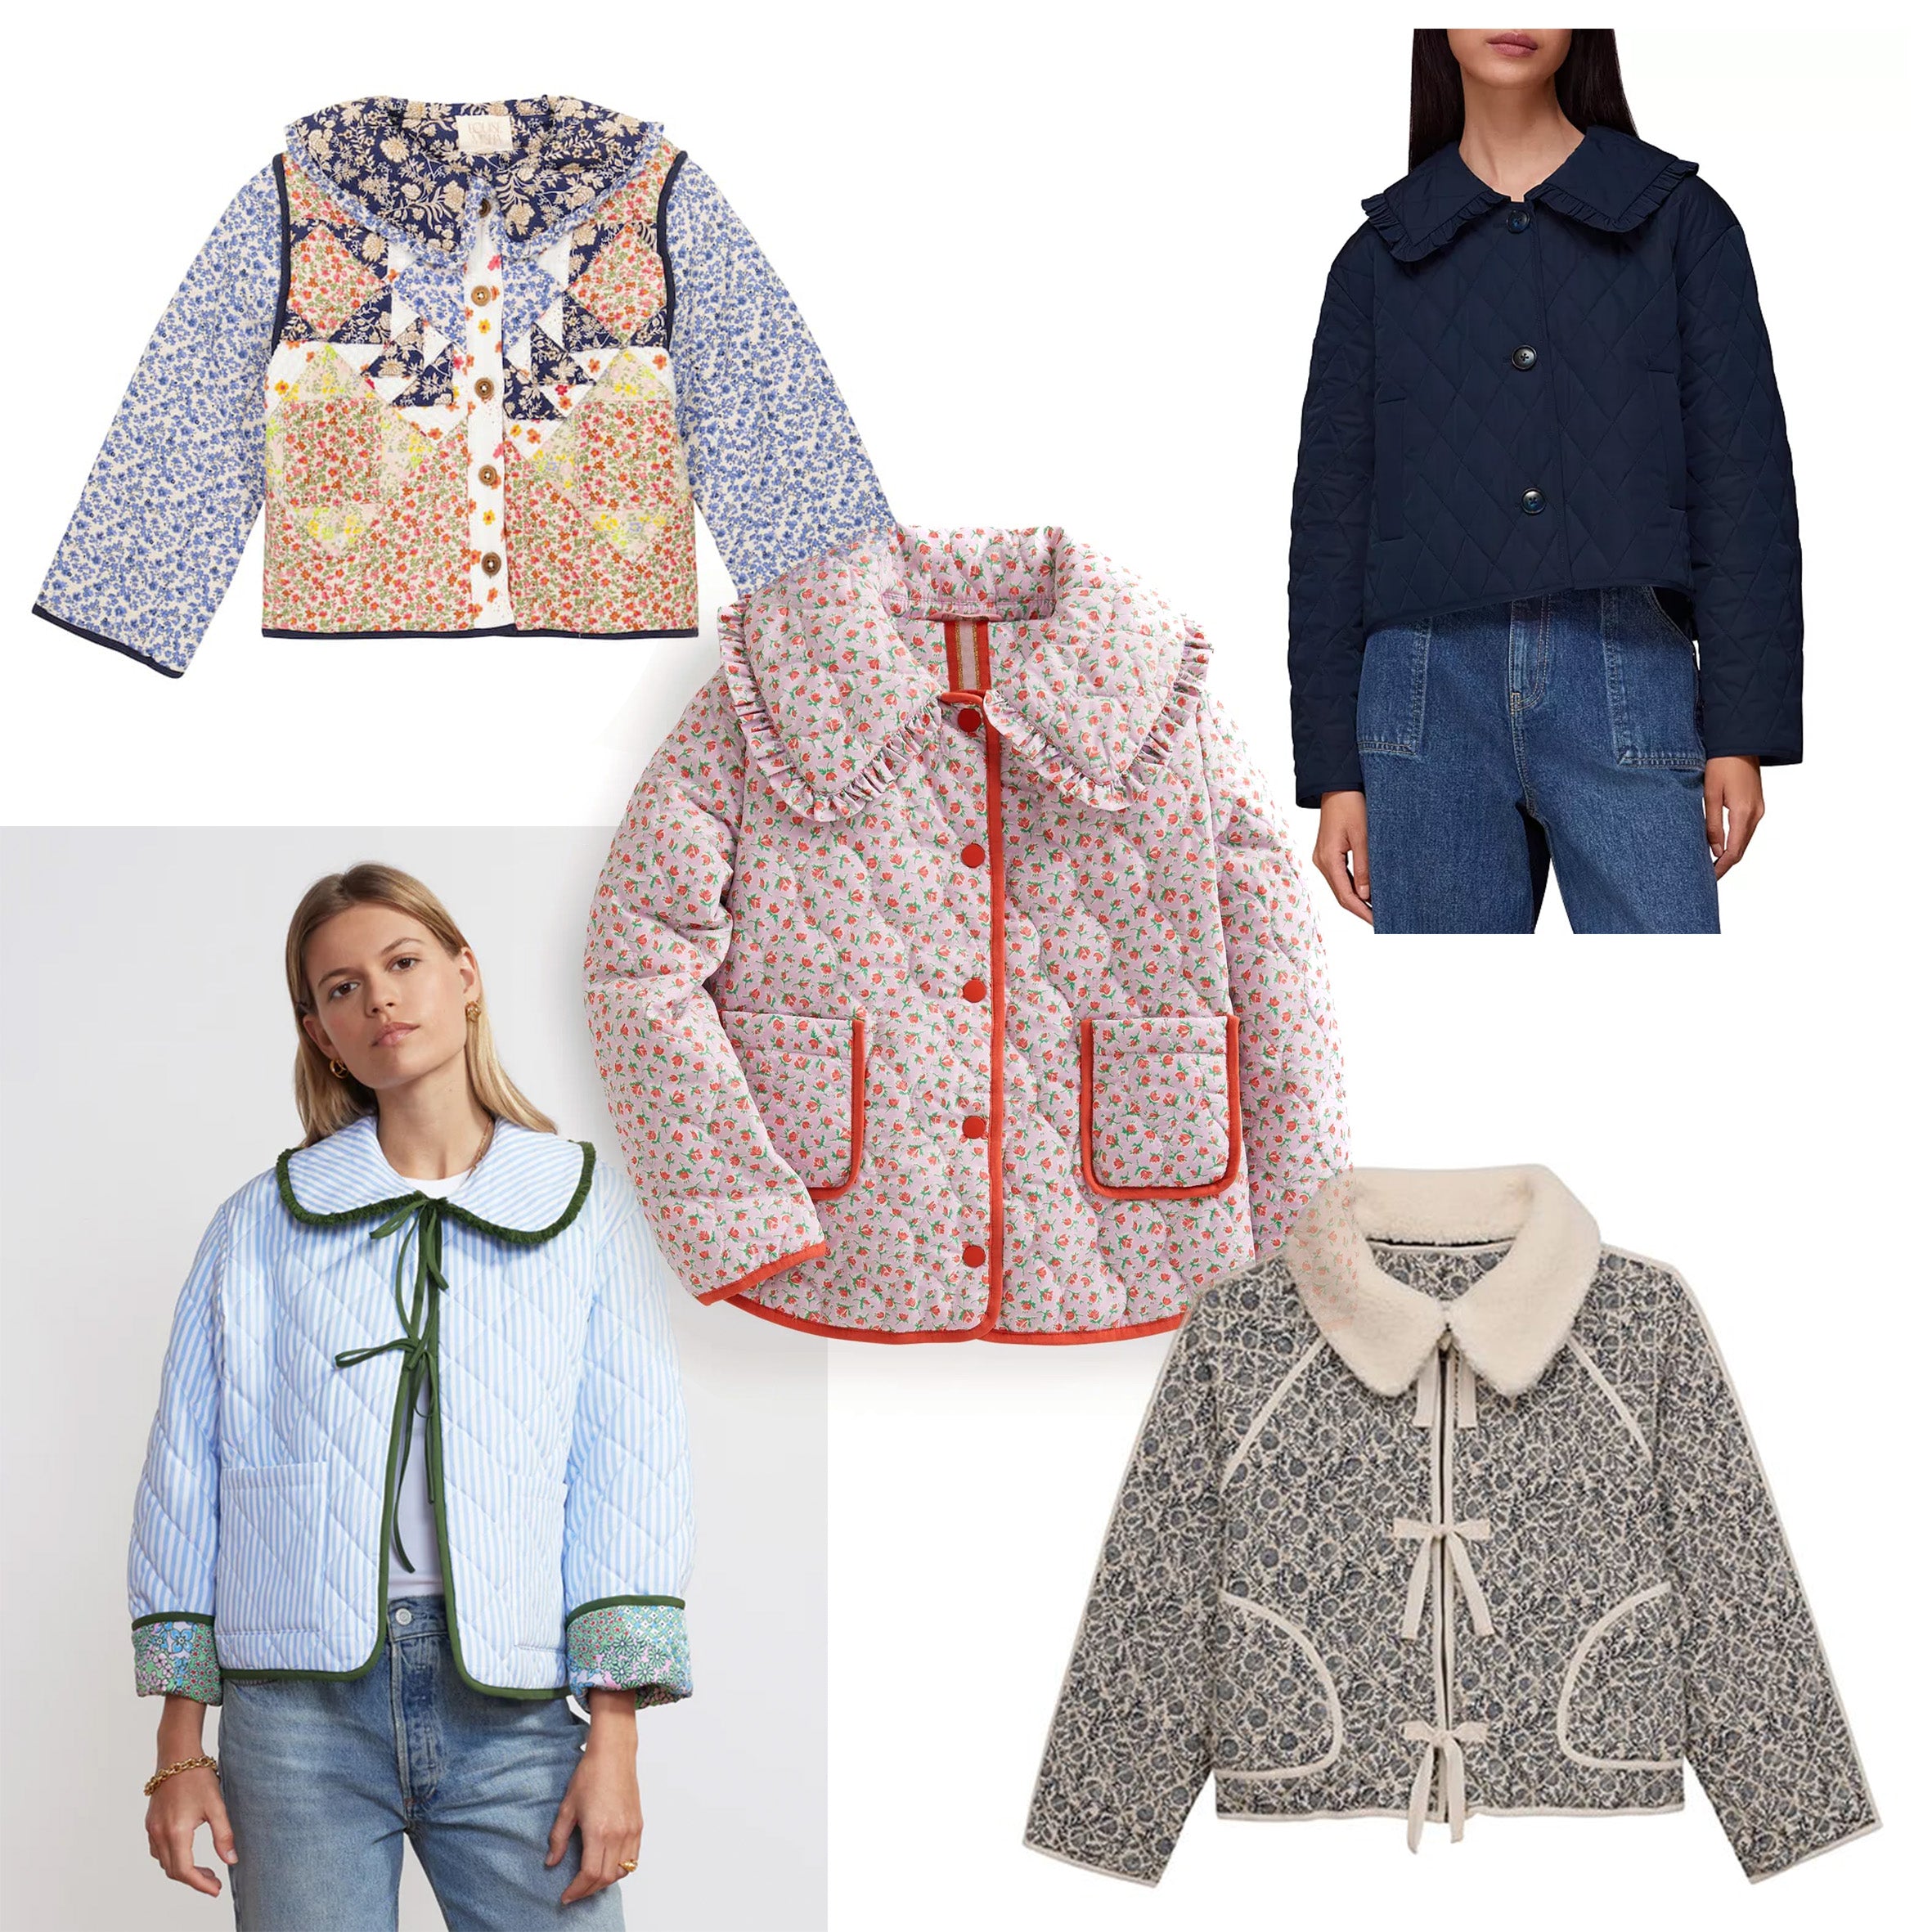
Quilted jackets have been dominating the high street for some time, and they don't look set to shift. Patchwork, cutesy, sporty, cropped, oversized – they're a nod to the duvet-wearing days of lockdown paired with the cottagecore aesthetic those times also inspired. Having been on a bit of a sewing spree with actual quilts lately, it was only a matter of time before I started in on quilted clothes. Spring is proving a strange affair of bedraggled blossoms and freak snow this year in California, and I'll be back in London for a few weeks in April/May, so a transitional quilted jacket seemed the perfect way to get my next quilting fix.
Having spotted a dream jacket in Boden Kids (children get the most fun clothes!) I realised that with some minor tweaks I could use the Bakerloo Blouse pattern as my base. In other words, with some minor tweaks you too could have a Bakerloo Jacket of dreams! Below I've outlined the pattern alterations, materials and quilting stage – the construction, finishing steps and finished garment will feature in next week's blog post.

Pattern alterations
Because a jacket obviously needs more ease than a blouse, I decided to cut one size up from my usual – so a size 12. This would give me an additional two inches of ease around the body, which I figured would be sufficient for a jacket that I'll only be wearing light tops underneath, no woollies. I did cut a little extra height in the armscyes (so up to a 14 in the shoulders) and then also cut a scant 1 cm lower at the base of the armscyes.

Then I needed to get rid of the bust dart. I used the slash and pivot method to close up the bust dart and move the volume to the hem. I drew a straight line down from the bust point to the hem, and then cut that almost to the bust point. I then cut the bottom leg of the dart, again almost to the bust point. This enabled me to rotate the bottom leg of the dart up to meet the top leg, thereby closing the dart and transferring the volume to the lower part of the bodice:


But then a calico toile showed me that that resulted in too much fabric at the front hem, so I straightened out that flared side seam, shaving about 4 cm off at the base and connecting that to the armscye:


I also didn't want such a curved front hem so shortened that by 2 cm at the CF and blended that out to the sides:


As this was a jacket, it would need front closures. So I added a 2.5cm strip down the CF edge of the Front Bodice to be my button band (I planned to use snaps so there wasn't any need for a button band facing):


The only change I made to the back bodice (other than matching the armscye adjustments) was to remove the seam allowance down the CB and mark it to be cut it on the fold instead:


The sleeves on the Bakerloo flare out to create that gorgeous volume, but I wanted fitted sleeves on my jacket. So I straightened the bottom hem of the sleeve pattern (perpendicular to the grainline), and then drew new, tapering side seams. The length of the adjusted sleeve pattern piece is 61 cm (24.25 inches); the cuff edge now measures 34 cm (13.5 inches).


Materials
This project required:
- 1.6m / 3/4 yards of cotton for the outer fabric (150cm/66-inches wide)
- 1.6m / 3/4 yards of cotton for the lining (114cm/44-inches wide)
- One twin-sized pack of Quilter's Dream Bamboo (a lightweight blend of bamboo, tencel and cotton)
- About 10 metres / 11 yards of bias binding
- A set of KAM snaps
- Quilting machine needles
- 2 reels of green thread, 2 reels of pale pink thread (for all the quilting); 1 reel of bright pink thread (for the binding)
I had decided to splurge on Liberty lawn in a print I'd become a bit obsessed with - strawberries and cream. I wanted to line the jacket in quilting cotton – for structure (and also to save money after the Liberty!) – but my local JoAnn's had a very limited selection of colours, so I opted for a trusty pale pink. Pale pink is a neutral to me.

I cut around the pattern pieces on the Liberty lawn, but left a generous border (about 1 cm all around) to allow for quilting shrinkage. I then cut around those pieces in the batting and pink cotton, leaving a second, even more generous border. Then it was time to quilt!

I decided on a simple diagonal criss-cross pattern and used the binding (just under 1 inch wide) as my guide. I figured the quilting pattern would then have a proportionate relationship to the binding, creating a subconsciously pleasing effect. Quilting through all three layers, I used a green thread for the top side and a pale pink thread for the bobbin, and a stitch length of 3.

Once all the pieces were quilted, I cut around the pattern pieces again, removing any excess. I was then able to proceed with the construction of the main jacket...
To be continued!


1 comment
This is so interesting. Thank you for the clear explanation of the pattern alterations. Big southbank sweater fan