We're feeling super inspired and raring to go with our blazers but first we've got to make sure we've all the bits and pieces we'll need, so today I'll talk you through the fabrics and notions required (and optional) for the Richmond Blazer.
Fabric
- wool or wool blends – light-to-medium-weight and tightly woven (some bouclé wools for example are very loosely woven and would undoubtedly unravel around the pockets).
- linen – again, nothing too loosely woven
- cotton velvet - silk velvet might be tempting but will be a shifty pain in the proverbial to sew, especially as you can't use fusible interfacing with it
- corduroy
- 'furnishing fabric' (nothing too stiffy or heavy, this is really just a category of medium-weight, sometimes textured cottons that work well for cushions, curtains etc)
- crepe
- cotton sateen (non-stretch)
If you wanted to use something really out there, like sequins, I would recommend that you use a contrasting stable non-fancy fabric for your pockets and for your under-collar and facings. Fancy pants fabrics aside, using contrasting fabrics in these areas could be a fab style choice. Satin makes a gorgeous contrast collar, for example. Or you could use a pop of print on the undercollar and pocket bags, that would only be occasionally visible and thereby bring you secret joy!
Lining
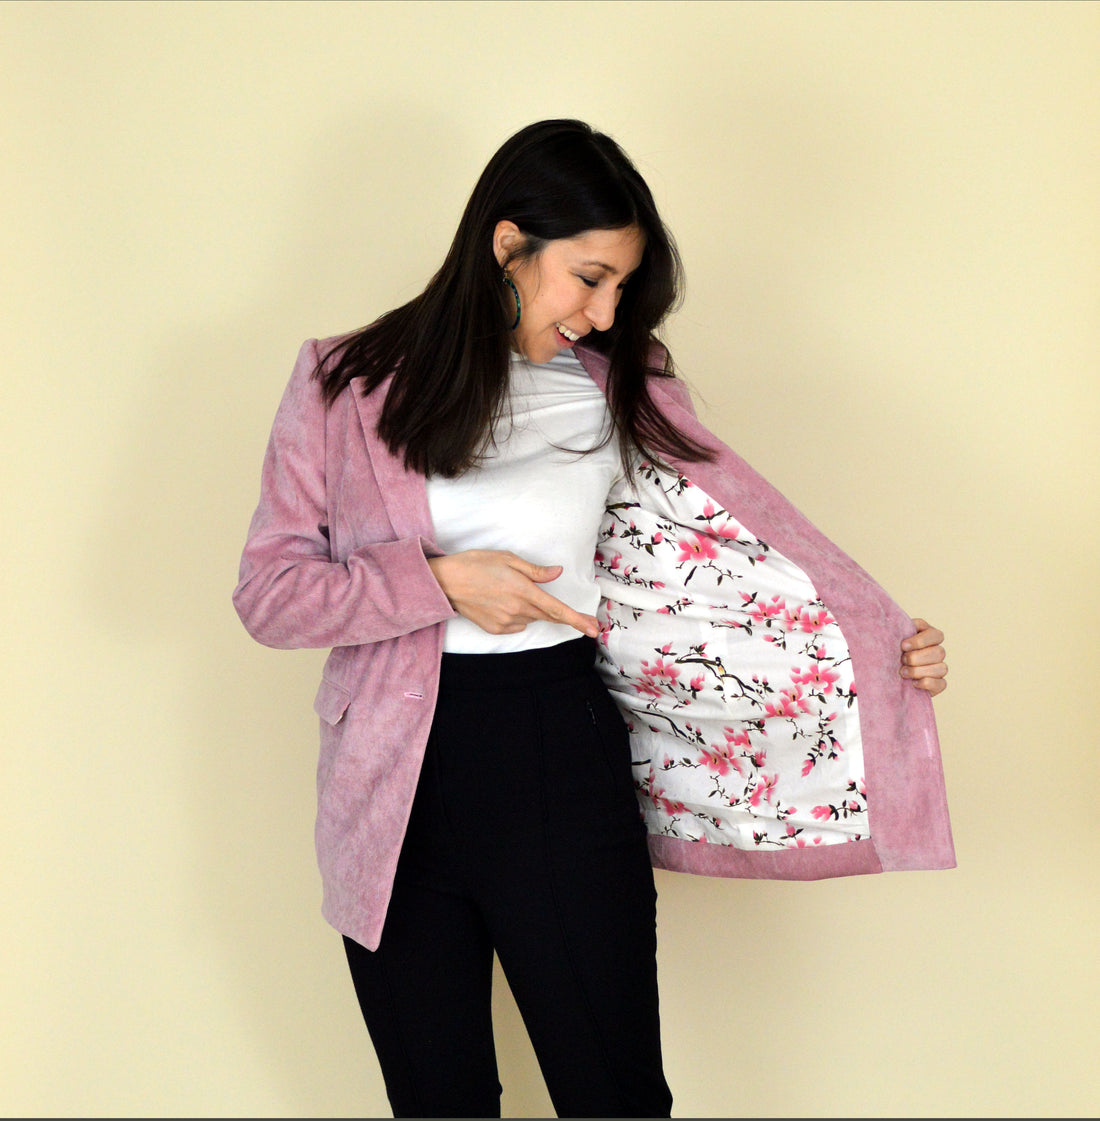
The Lining Company as a great source of linings in a wide range of colours. But hey, who said lining has to be lining? If you want to go really high-end, you could line it with silk. For my needlecord Richmond (pictured) I used a printed cotton lawn to line the body of the jacket and a lining fabric for the sleeves. If you choose to use a cotton or any non-slippy fabric, I recommend that you also only use it in the body and stick to something slippy-slidey in the sleeves, where you want to minimise friction. Just make sure that your lining is opaque as if not, you'll be able to see the seams, pocket bags and interfacing outlines of your jacket innards, and pretty as they might be, that's not really the look we're going for.
Interfacing
Just how much of this you'll need will depend on the weight of your fabric and the structure you desire in your finished garment – i.e. if you decide to interface the entire front panel or not. Equally, if you are using weighty fabric, or lightweight and want to keep it that way, you can use a lightweight interfacing. If you want to create a stronger structure, use a medium-weight. Don't use heavyweight. It will need to be fusible because it is being applied directly to the outer jacket. Also, bear in mind that if your lining is at all transparent, you may be able to see the insides of your jacket, so choose light or dark interfacing to minimise any contrast with the colour of your main fabric. It's a good idea to interface your fabric pieces as soon as you have cut the interfacing, because there are a number of very similar pieces (the hem interfacings) that are easily confused, as well as small pieces that could easily go astray. To apply interfacing, use a slightly damp pressing cloth and an iron on the relevant setting for your fabric. Press, lift, move and press again with the iron over the interfacing (and the pressing cloth in-between); do not 'iron' (i.e. move the iron back or forth).
Thread
Just a quick heads' up that there are a LOT of seams in this blazer, and so you'll almost certainly need more than one (100m) spool of thread. However, there's very little visible stitching so if you've only got one spool to hand that perfectly matches your fabric than you could save it for the under-stitching on the facing and the buttonholes and use imperfectly matched thread for your major seams.
Sleeve heads and shoulder pads
These are optional and not referenced in the pattern instructions, but you may wish to add them in. Sleeve heads can be bought or easily made, and add fullness and a little height to a sleeve cap. The Richmond sleeve cap requires quite a lot of easing into the armscye and with some fabrics this has to potential to create a slightly puckered look which can be puffed out with a sleeve head. I used a piece of wool fabric about 20cm x 15cm for mine and will show you how I made and inserted them at the relevant point in the sew-along. Shoulder pads (easily purchased) are used to add structure and height to the shoulder area – this can be for a figure with sloping shoulders or simply a style choice. These will also be discussed more fully in a later blog post.
Button
The Richmond Blazer is designed to close with a single button at the waist, but in truth when I created the pattern I always had in mind it worn open. The choice of button is yours; I have a fondness for simple self-covered buttons but as you only need the one you could go wild and buy something spectacular!
Other bits
As mentioned in interfacing, you'll want a pressing cloth. This can be any piece of fabric that won't fray and won't be susceptible to melting/burning or any other undesirable reaction to a hot iron. I use squares of muslin; silk organza is a popular choice as it's transparent so you can easily see the area underneath that you're pressing. A little hand sewing is required in this pattern, so make sure you have a suitable hand sewing needle. Spare machine needles are always advisable in case of breakages. What size you use will depend on your fabric but it's always advisable to run some lines of test stitching on scraps of your fabric to check. For the lining you should switch down to a finer needle. When sewing the lining to the main fabric, use the main fabric needle. Obviously you'll also need your entertainment/company of choice (audiobook, podcast, cat) and sewing snacks on hand. I'm partial to a period murder mystery and pretty much any food I can get my mitts on. See you in the next post – where we tackle our (many!) pattern pieces!