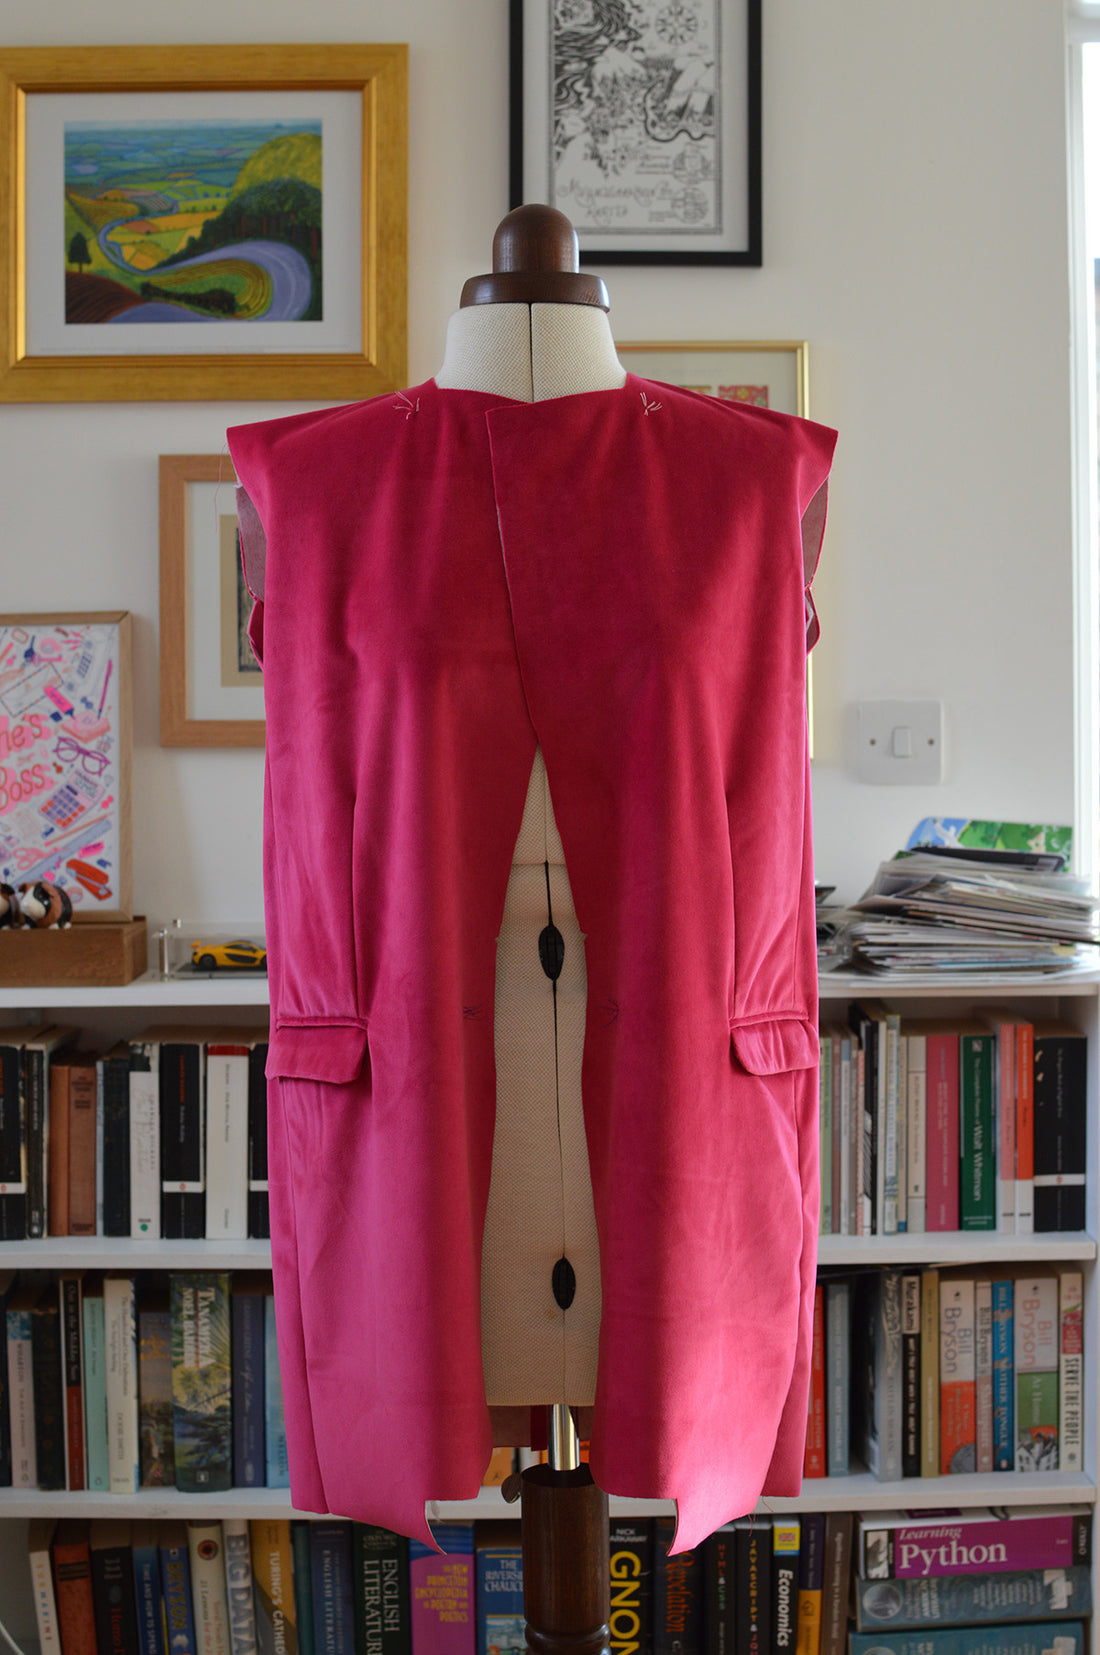
Now those tricksy pockets are out of the way we can make some big strides forward to having something that looks like a jacket on our hands. Start by sewing your two jacket backs together down the centre-back seam. Press it open. Then attach your jacket side panels to the jacket back, easing in those curved upper sections and clipping the seam allowance if necessary. Again, press the seams open. 

Next, match the jacket shoulders and stitch these, once more pressing them open. 

It's beginning to look a lot like... an actual piece of clothing


Set aside the jacket and gather up your two front facings and your one back facing. Stitch the front facings to either end of the back facing so you have a single long piece, seams pressed open. 


Now we're going to attach the upper collar to this facing. Start by matching the notches in the lower edge of the collar to the shoulder seams in the facing (right sides together). You can then pin the section in-between the shoulders together; it will require easing a tad but shouldn't prove difficult. Pin beyond the shoulders as far as your marked dots. 

Start at the centre-back (roughly) and stitch along the pinned lower edge of the collar until you reach a dot. Now, the instruction booklet here suggests leaving your needle in the fabric and pivoting, but you might in fact find it easier to do a little backstitch and remove the pieces from the sewing machine altogether before the next step. This is to clip into the facing (not the collar) as far as the end of your stitching so far. This enables you to rotate the facing around so it can be matched to the next edge of the collar. 


Once you have made the clip, pull the facing around so that it matches the side of the collar and pin them together. They will not be the same length; the collar will be much shorter.

 This shows the facing uppermost, with the clip pulled wide.
Stitch along this short side of the collar, stopping 1.5cm (5/8 inch) before the edge of the collar. Backstitch to secure.

 This view shows the collar uppermost, and how the stitching must end 1.5cm from the edge.
 Take care with the facing that you don't catch it and accidentally stitch through more than the single layer. You'll need to push the extra facing out of the way when you change direction.
When finished, the join from the right side should look like this: 

Neat, right? You can even see the beginnings of a notched lapel appearing on the right-hand side.
Now repeat for the other side. Once that's done, clip into the seam allowance if it feels necessary. You've now got one collar in place and our next post will deal with the other!

