Hey everyone, today we're talking invisible zips! A correctly inserted invisible (or concealed) zip is going to give your garments a beautiful, professional-looking finish, elevating them from 'homemade' to handmade (if you know what I mean...). I love this style of closure for this very reason and it's no surprise therefore that you'll find it cropping up in a couple of my patterns, namely the Portobello Trousers and the Camden Pinafore and Skirt. Today I'll talk you through the insertion of an invisible zip, using the Camden Skirt as an example, but showing an approach that you can use on any pattern.
Tools
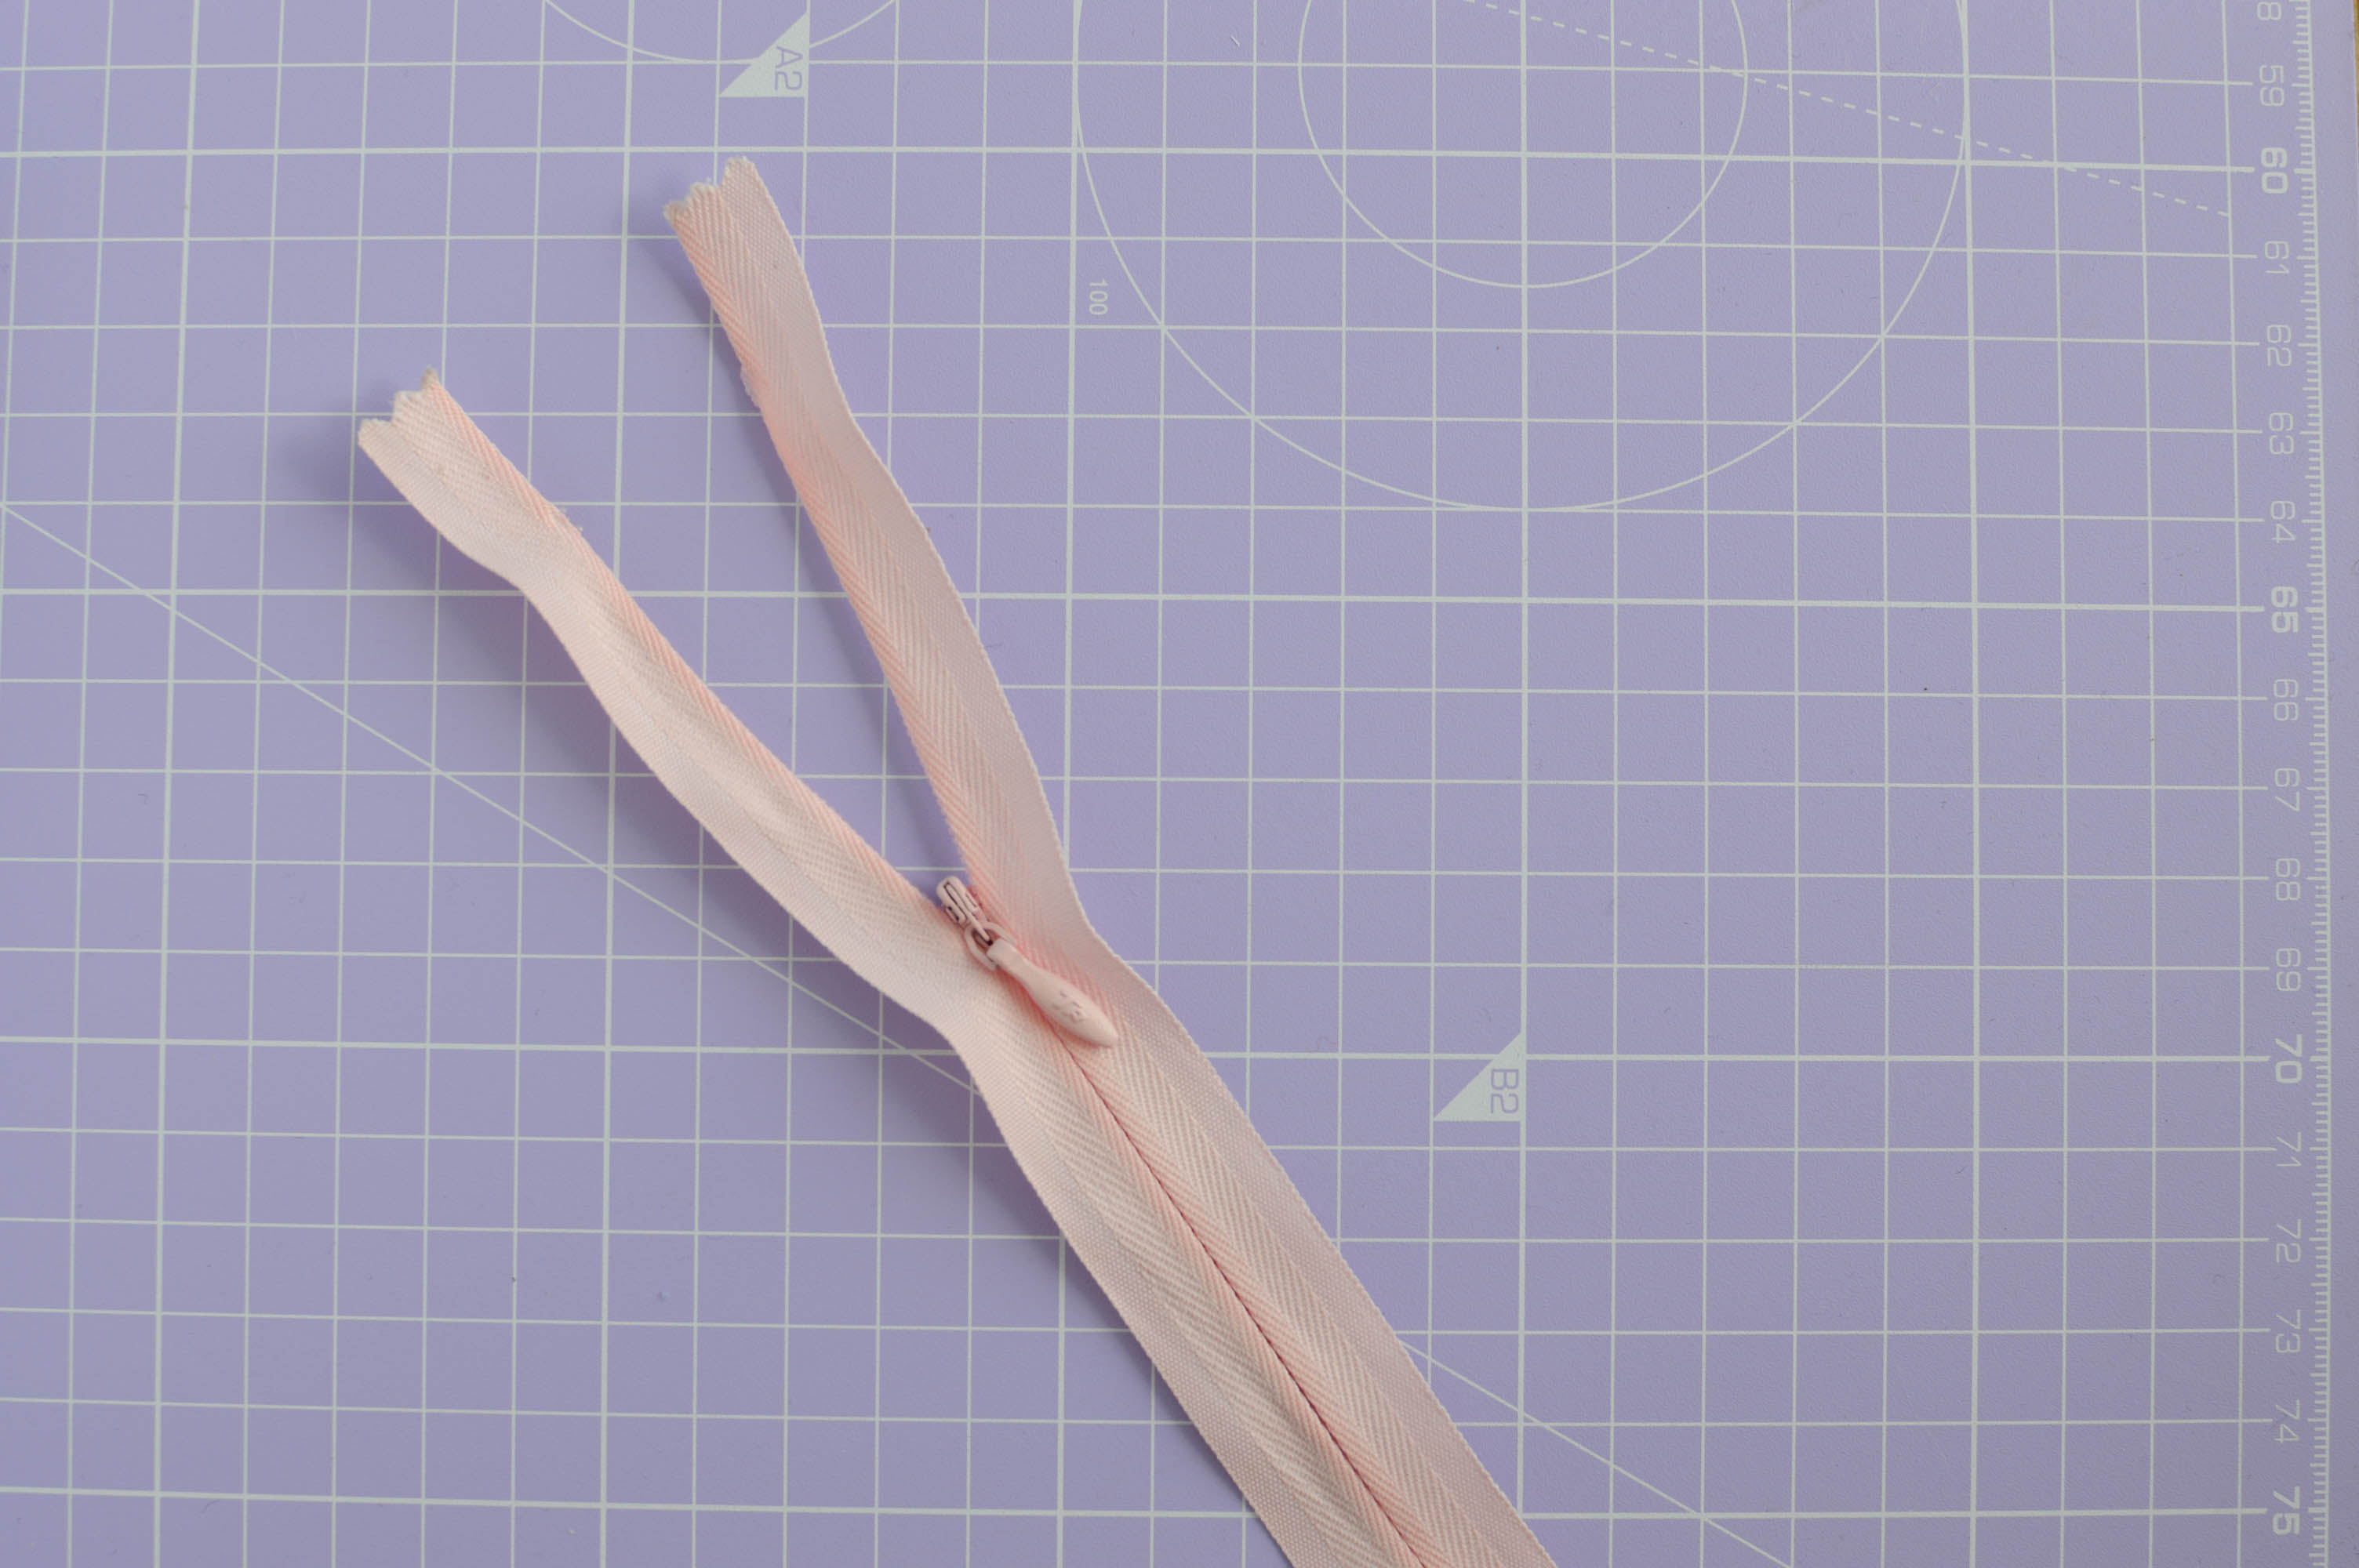
Firstly, what is an invisible zip? Well, unlike the standard zip you will most commonly find in haberdashery sections, the teeth in an invisible zip are hidden on the underside and quite literally invisible on the right side when the zip is closed. Invisible zips usually also have nicer zip pulls, which is another plus for your garments. On the downside they're often available in fewer colours, but remember - the only part of the zip which will be visible once you've finished is the zip pull, so colour matching can potentially be less of a priority.
Secondly, you are going to need a concealed zipper foot. Unlike some specialist machine feet, these are invaluable but inexpensive. Mine is a cheap, non-branded version I got online and it does the job perfectly. You can of course insert an invisible zipper using a standard foot, but the end result will not be the same.
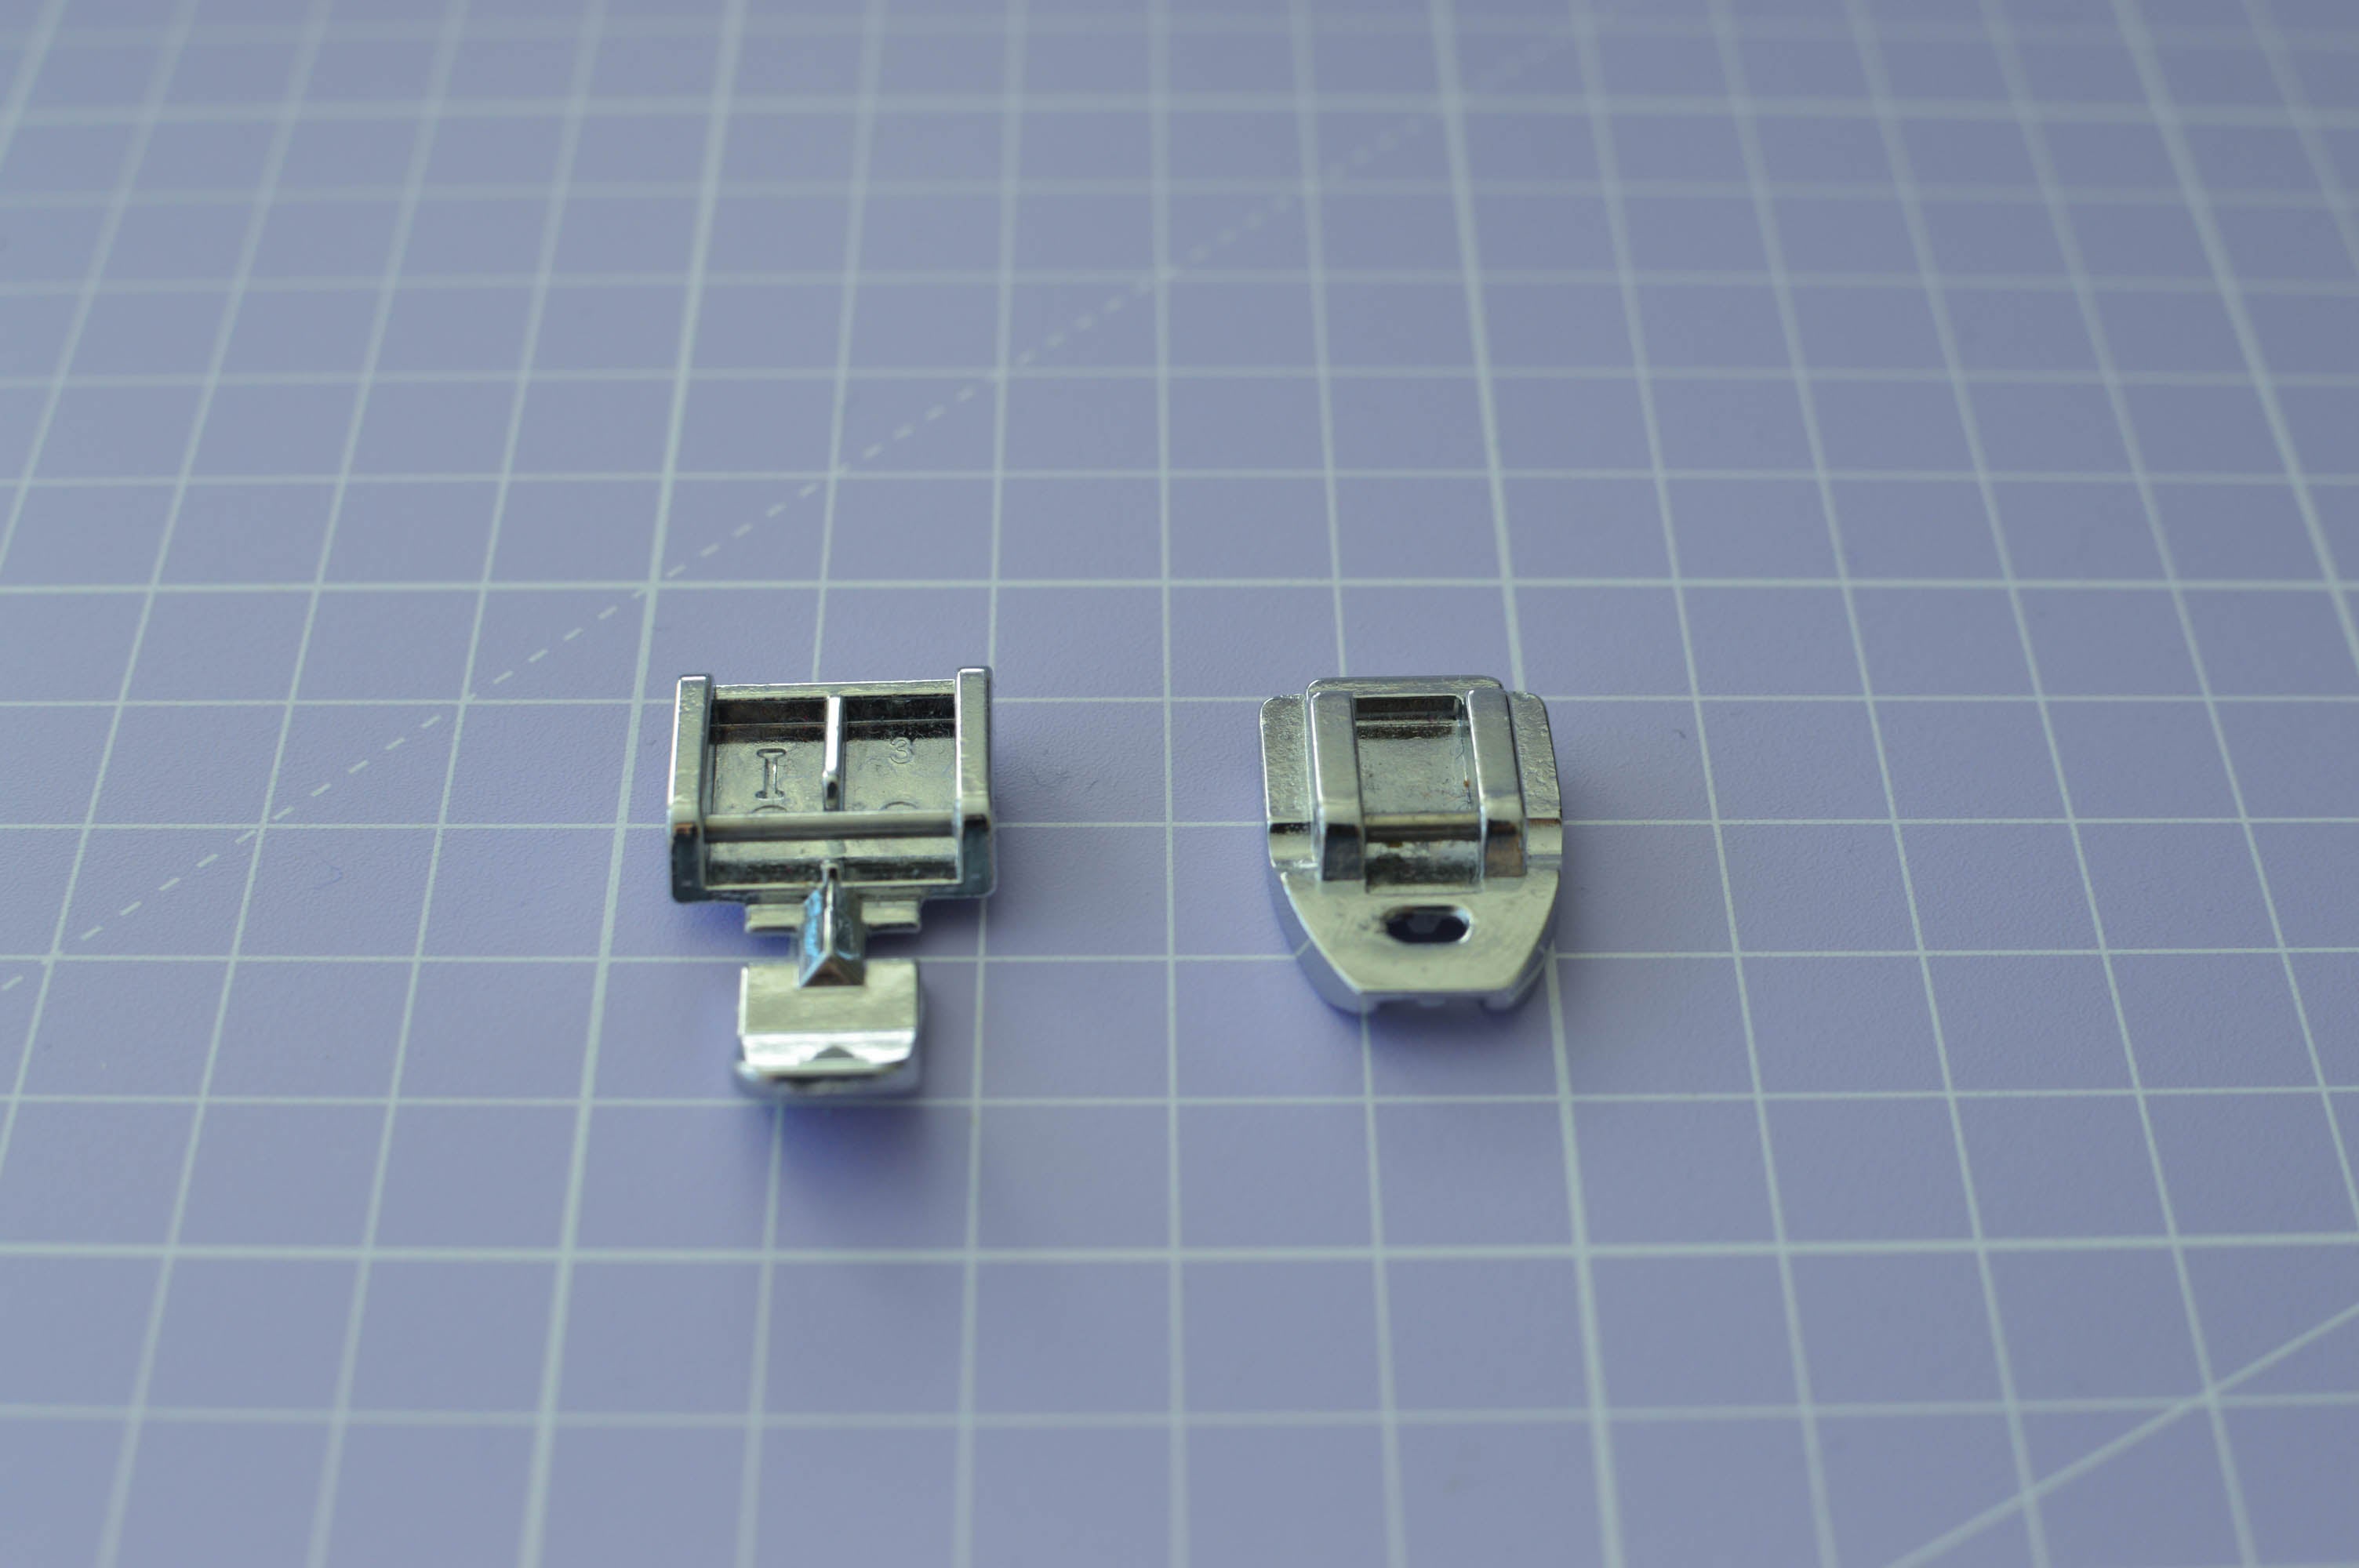 On the left is a standard zipper foot, of the sort that will probably have come with your machine. On the right is a concealed zipper foot - note the two grooves in the base, just visible at the front.
Preparation:
Depending on the nature of your fabric, it may be a good idea to strengthen the zip area with strips of interfacing. If you're inserting the zip through a waistband, as with Camden, make sure before you start that the waistband is the same depth on either side, so when your zip is done up the seamlines match perfectly.
An invisible zip is best inserted with the fabric unattached below. If the pattern requires that you sew the seam below the zip beforehand (as is the case with the Portobello Trousers), simply leave a little extra un-sewn below where the zip is going in.
Some people like to press open the teeth of their invisible zips before sewing. I personally don't do this as I don't find it necessary and I'm too prone to burning my fingers on the iron! It's really a case for personal preference.
Sewing:
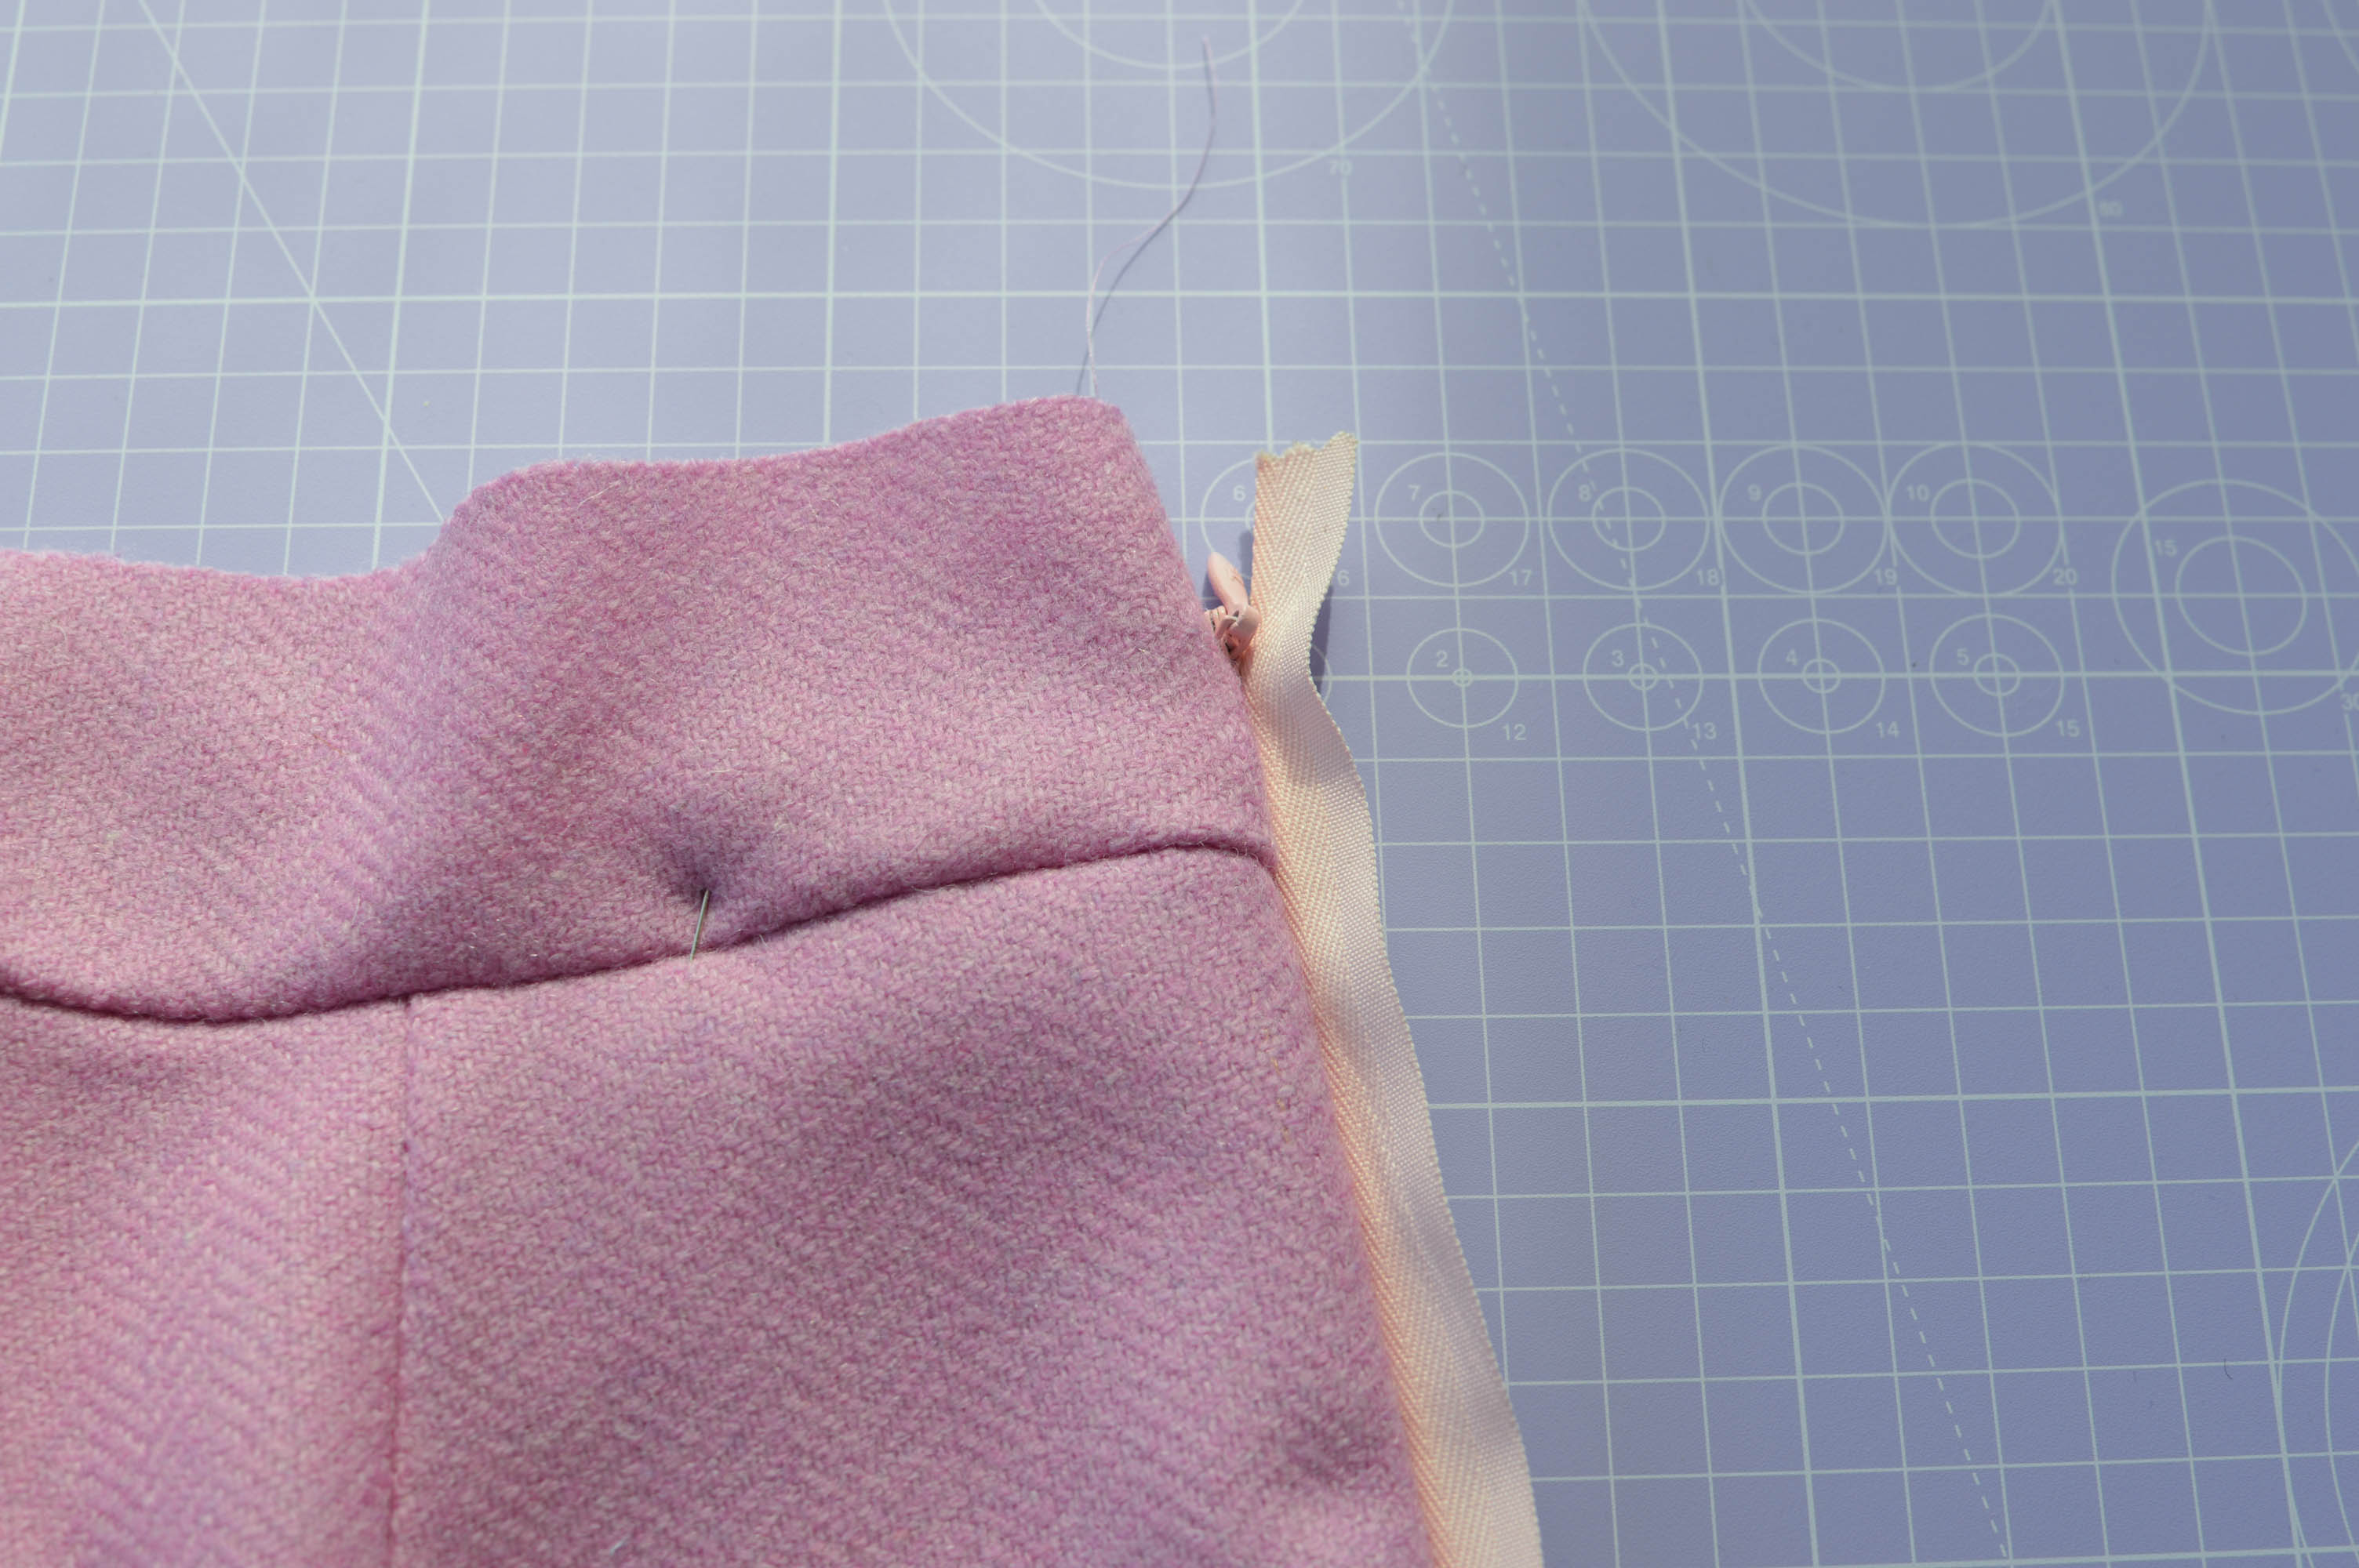
You always sew an invisible zip with it open. Start by taking one side of the zip tape and pinning it down one edge of your fabric, right sides together, with the zipper teeth facing inwards, away from the raw edge.
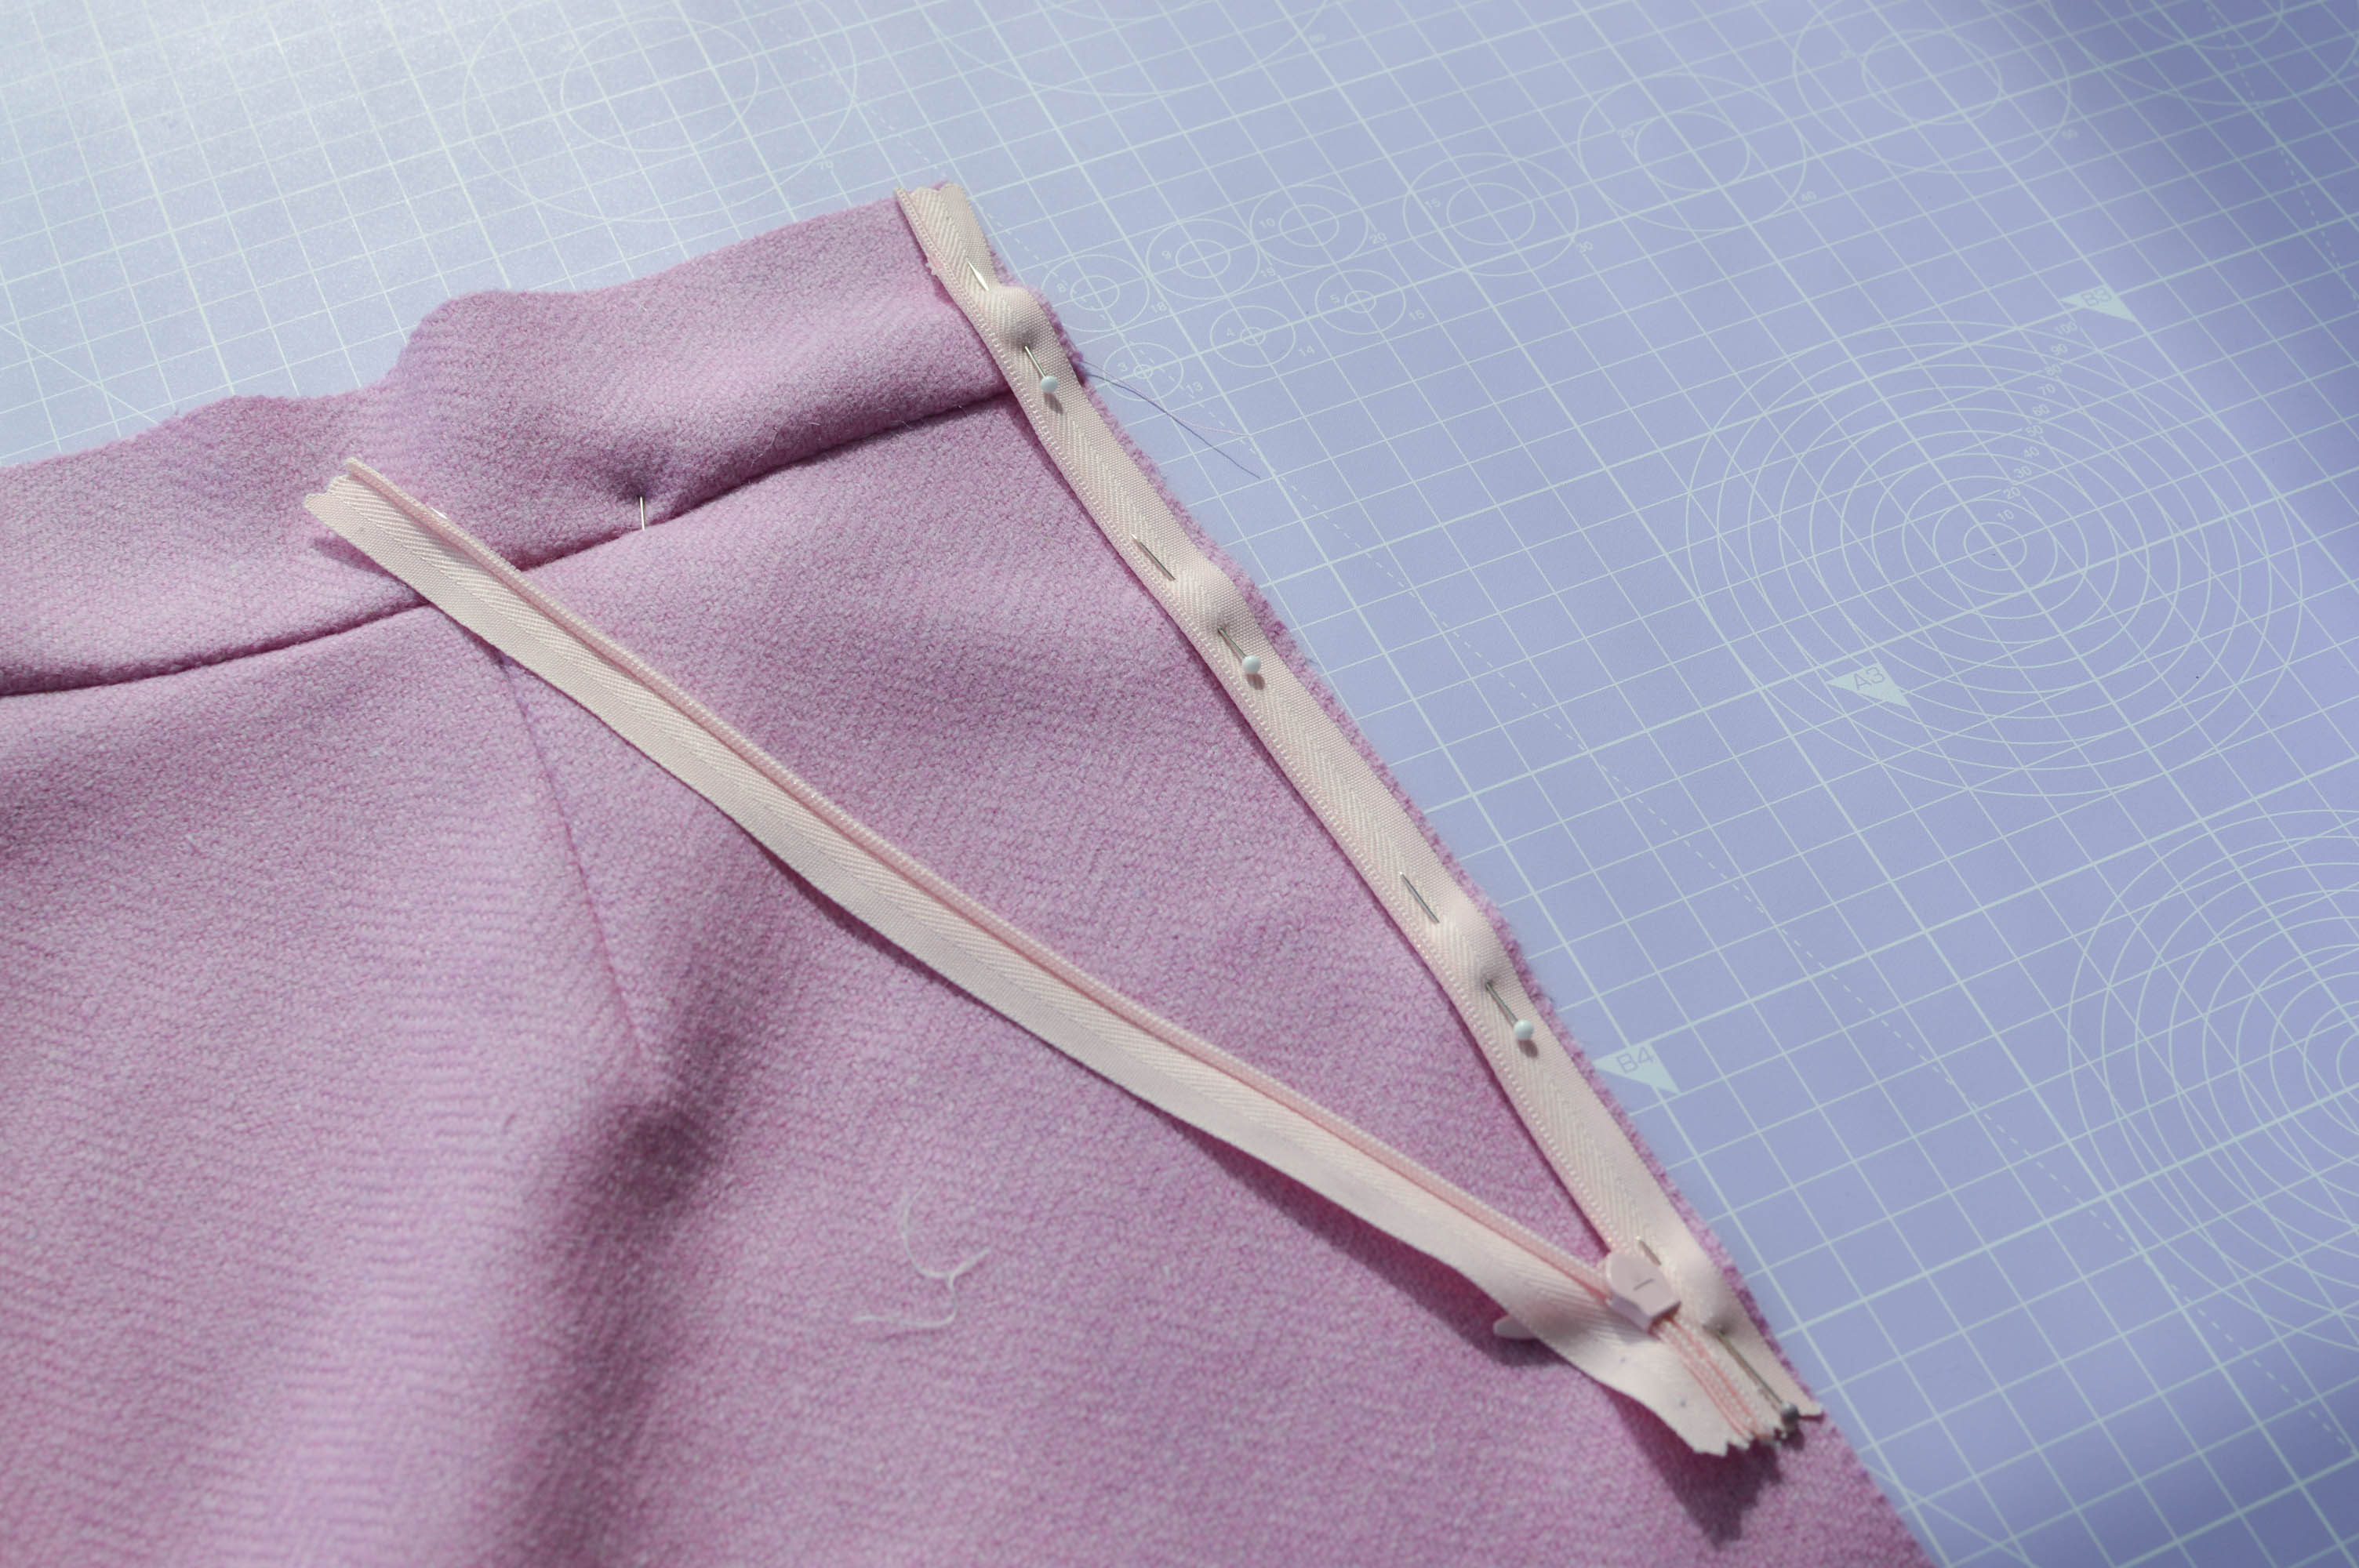
You can baste this in place by hand, or to save time and add strength, stitch it in place using your normal zipper foot, down the middle of the tape. Only sew until you reach the zip pull; don't sew past the zip pull even though you can.

You can now stitch the zip again, using the concealed zipper foot. Starting once again at the top, position your fabric and zip so that the zipper teeth sit inside one of the grooves on the concealed zipper foot. To get the best possible finish, use your fingers to pull back the zipper teeth (this is what you could have done earlier with the iron) so the needle enters the tape as close to the teeth as possible. Don't forget to change the needle position on your machine to centre (if it's normally set to left) so you don't break a needle!

 It's hard to show but in this photo I'm using my fingers to just peel back the zipper teeth before they enter the groove of the foot.
With the concealed zipper foot you won't be able to sew past the zip pull, so just sew up to it as far as you can. You'll finish the bottom of the zip later.
 Just stitch as far as you can before hitting the zip pull...
Now, if you have a waistband or any other seamline that needs matching, do up your zip and make a mark on the un-sewn side of the tape so you know where it needs to match up. I've done this in a blue pen to be as clear as possible in this photos, but you can use chalk or pencil.

Use this mark to accurately position the un-sewn zipper tape on the other side. Pin and baste as before.

You can sew this side of the zip in place from the top again, by using the other groove in the machine foot (the bulk of the fabric will be on the right of your needle), or, as I tend to do, sew it from the bottom and then go back down and only sew the last section up to the zip pull using the second groove. I'm a creature of habit and I always like to sew my zips (and everything else) with all the fabric bulk to the left.
Once you've stitched both sides of your zip it should close up beautifully and eh voila, disappear!

Now to finish the bottom end of the zip and close up the remaining seam. Return to your standard zipper foot (you're done with the concealed one). On the wrong side of your garment, find the bottom of the zip stitching, folding the zip end up and out of the way.

Using your standard zipper foot, and taking care that you're not sewing through the zip at all, stitch from as close to the end of the zip stitching as possible all the way down the remaining open seam. In the case of Camden, this will be to the hem; in the case of Portobello it will be until you meet your previous stitching.
 Note that the zip is kept well out of the way
Press your seam open and press your zip. The final step is just to secure the ends of the zip tape below the zip pull. Again using your standard zipper foot, just run a few stitches through each end of the zip tape to secure them to the seam allowance. Take care not to stitch through anything more than the seam allowance - this should be invisible from the right side of the garment.
 The free ends of the zip tape
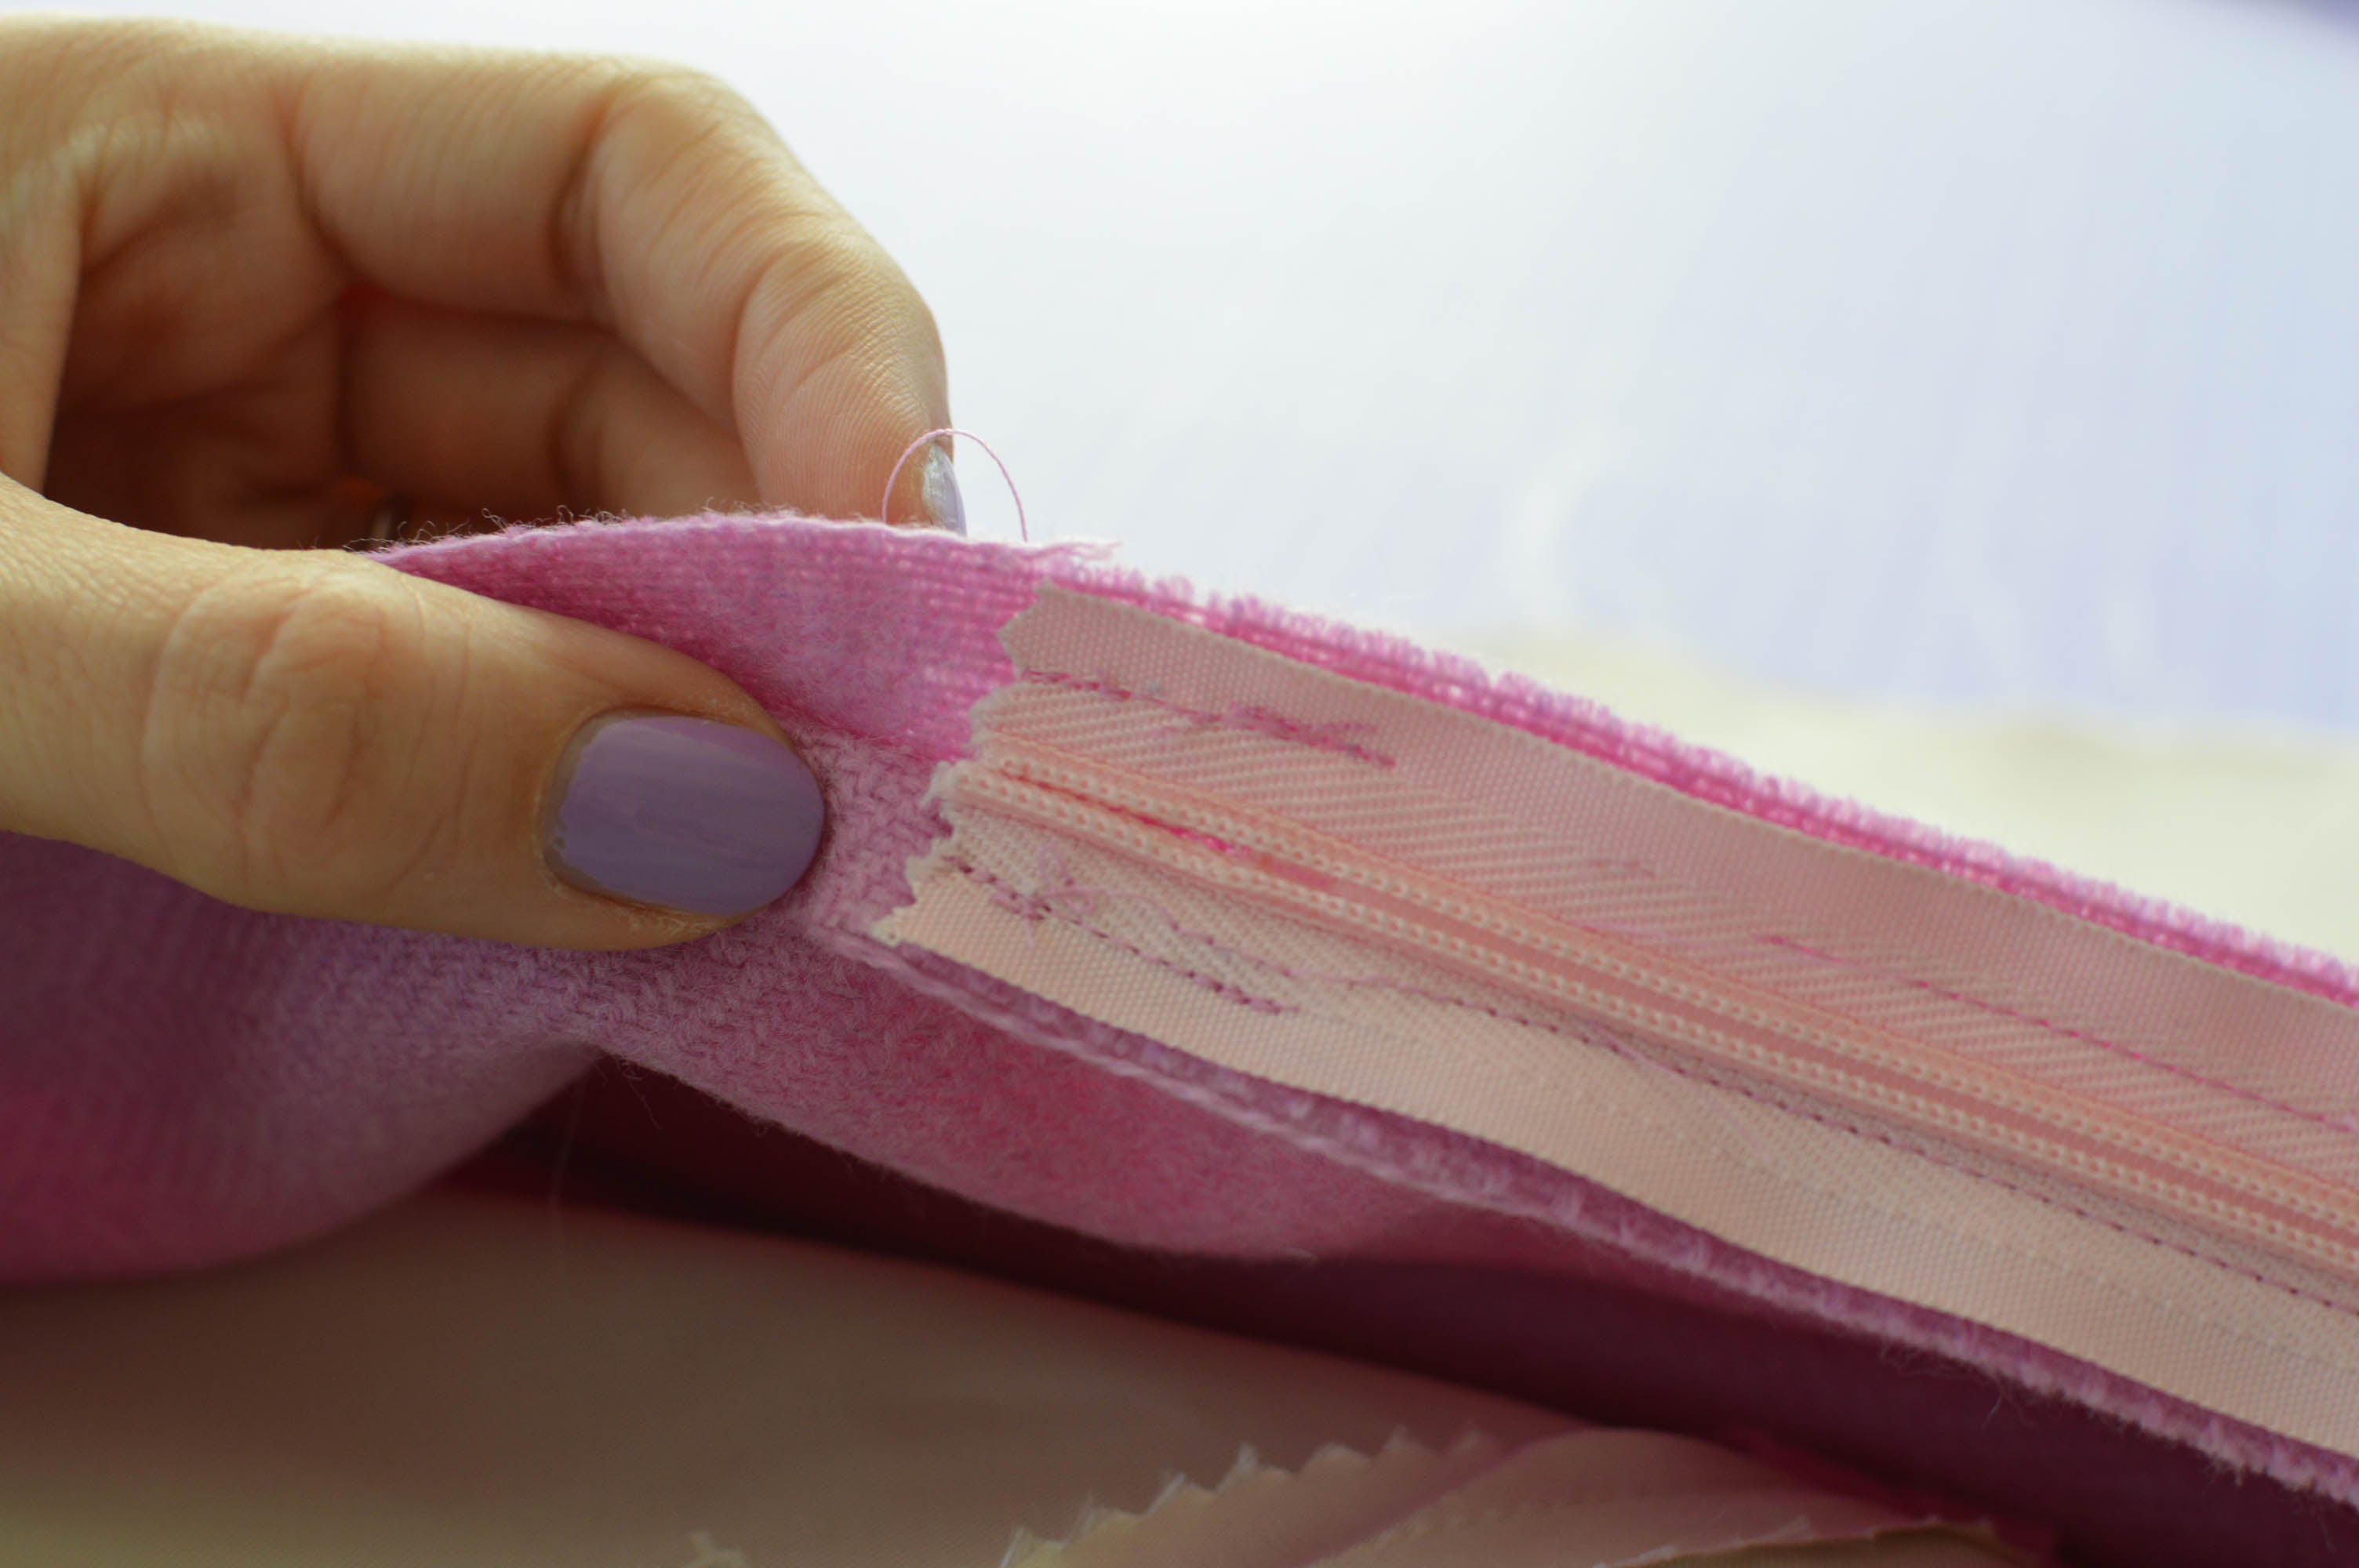 Secured to the seam allowances
Your zip insertion is now complete! Now, isn't it a thing of beauty?


I do hope this helps you if you've never tackled an invisible zip before. If anything here is unclear and you want more explanation, just let me know in the comments below. Similarly, if there's anything else you'd like to see a tutorial on just say!
Nina x
3 comments
Great instructions thank you. I’m making the KewBello jumpsuit. Any tips on how to close up the seam after sewing the concealed zip please? On my practice garment sewing the zip went perfectly but closing the seam after the zip pull was a bit messy. Will lengthening the bodice have any drawbacks when making up my final garment? I love this pattern and it is so well drafted I just need to make a few tweaks. Thank you for any advice Lynnda
I did not have the right foot but I will try to do it properly
This helps me a lot thank you
I appreciate you.